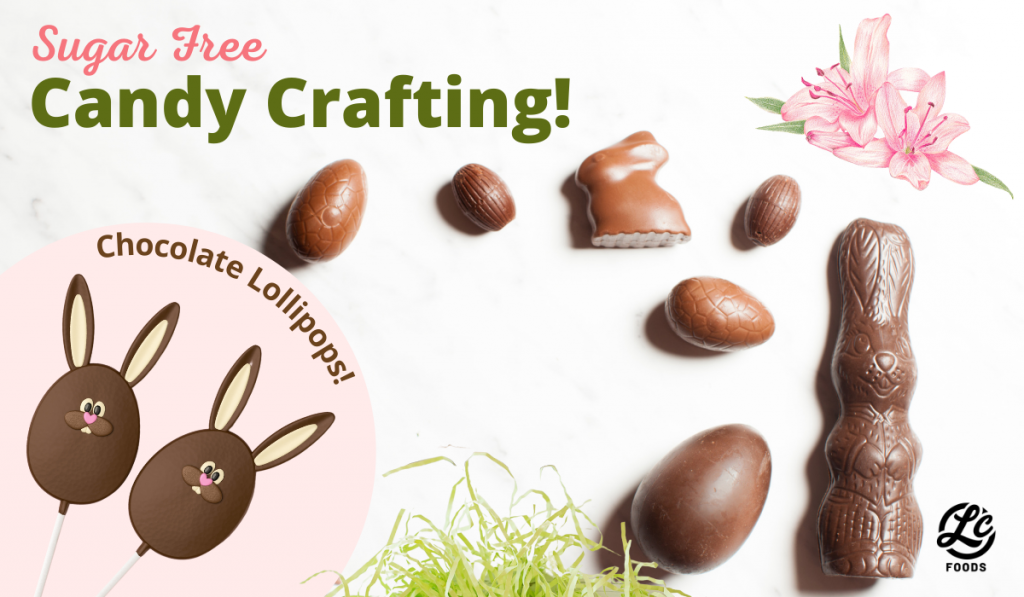
Materials Needed:
- Sugar Free White Chocolate Wafers
- Sugar Free Dark Chocolate Wafers
- Food Coloring
- Icing Bottles
- Lollipop Sticks
- Holiday Candy Molds: snowflakes, holiday variety, festive lollipop molds
- Valentines Candy Molds: hearts, heart lollipop, rose lollipop, love candy
- Easter Candy Molds: silicone variety mold, lollipop variety mold
- Glass bowls
- Small spoons or whisk
- Optional: Treat bags and ribbon
Instructions:
- Gather your supplies and set up your work station. Use parchment paper or wax paper for your work surface, in case of spills.
- Melt chocolate in the microwave at 30 second intervals, stirring after each interval, until melted.
- Separate melted chocolate into bowls based on the colors you need for your specific craft.
- Add food coloring and mix small bowls of each color you plan to use. Note: the sugar free white chocolate is best for coloring.
- Add your melted chocolate to icing bottles.
- Gently squeeze desired colors into the corresponding areas of your mold. Example: red nose for Rudolph in your reindeer mold, etc.
- Let each layer set before moving on to the next. If you’re making a Rudolph lollipop, for example, add the red chocolate to the nose and let that set in the fridge before adding the rest of the chocolate for the reindeer.
- Fill the molds with your desired chocolate.
- If making lollipops, don’t forget to add the sticks. Twirl the stick as you place it in the chocolate to coat it on all sides and make it more secure.
- Place molds in the refrigerator to set. This may take up to an hour, depending on size.
- Pop candies and lollipops out of the molds once set. Add a treat bag and tie with a ribbon to make it a gift!
*Items linked are just examples. You can use anything similar you have on hand or find at your local craft store.
